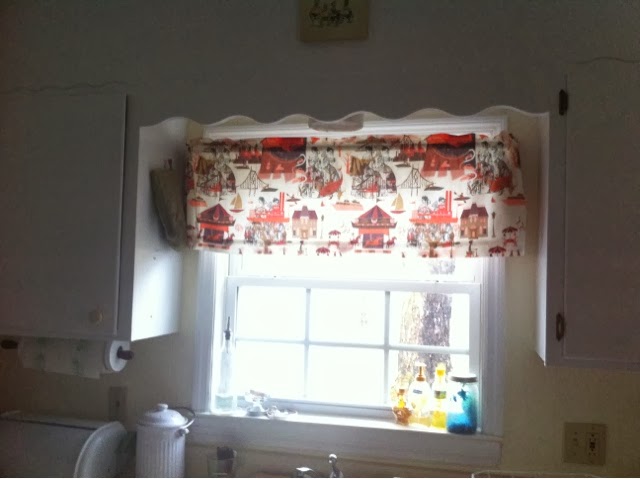
The first part of my kitchen project is complete. In addition to my amazing functioning ice maker I have a new pull out, under sink trash can, a vintage-inspired bread box for my spices, freshly painted cabinets, and a valance and some pillows & a valance made from the Chattanooga Toile.
  |
 |
The biggest part of step one was the cabinets. I thought the hardest part of this job was going to be painting the insides of the top cabinets. It was time consuming, but not as time consuming as trying to paint both sides of my 1700kazillion cabinet doors. Even with all 3 leaves in my dining room table, I only had room for 4 large doors and 3 skinny doors at a time. It takes a lot of time for paint to dry when it's 12 degrees outside. Even my dehumidifier was like, sorry, I'm not going to be able to help you. None of the work was hard, per se, but waiting for paint to dry on the doors was the most time consuming part. One coat of primer, and two coats of paint on both sides of the doors = a lot of time, when you can only do a handful of doors at a time. What I thought was going to take a week, ended up taking the better part of 3 weekends, lesson learned, but it was worth it!
 |
| Before |
 |
| Ta-Da! |
I'd say this is an improvement. I love my little bread box, and my milk glass lamps from Chattanooga Auction House are perfect. (More about the Auction House) I had debated changing the knobs on the cabinet doors, but the contrast has grown on me, and I really do like the painted flowers, and mirrored outline.

The next part of the kitchen project is the wall opposite my kitchen sink. This is where I'm going to put floor-to-ceiling built in cabinets. The pictures below show where we've been and where we're going. There is an IKEA run in my future, and another weekend or two of working in my kitchen.


Side note:
I did learn a trick to painting around hinges. Use two pieces of tape, and fold the edges like you're wrapping a present so that things stick and lay flat. Wrap the flat part first, and the round part second. Simple, and effective. I was quite proud of myself for figuring that out.
Oh yes! Beautiful!
ReplyDeleteLea
Thanks Lea, I'm not calling this a re-model, but I'm enjoying working in my kitchen :)
DeleteCabinets look great! Can't wait to see the window wall!
ReplyDeleteAnd yes, I like the knobs just as they are!
Thanks :) IKEA, here I come!
Delete